How To Build Email An List In WordPress With MailPoet
In this tutorial, we will be showing you how you can build your very own email list easily with one simple WordPress plugin. The plugin in this case is the MailPoet, which is built by WordPress users for WordPress users. Mailpoet is one of the highest-rated email newsletter building plugins for WordPress and for a good reason.
Create a MailPoet account (recommended)
To get started with MailPoet the first thing we need to do is to create an account. Click below to create your MailPoet account since we will be needing it later on.
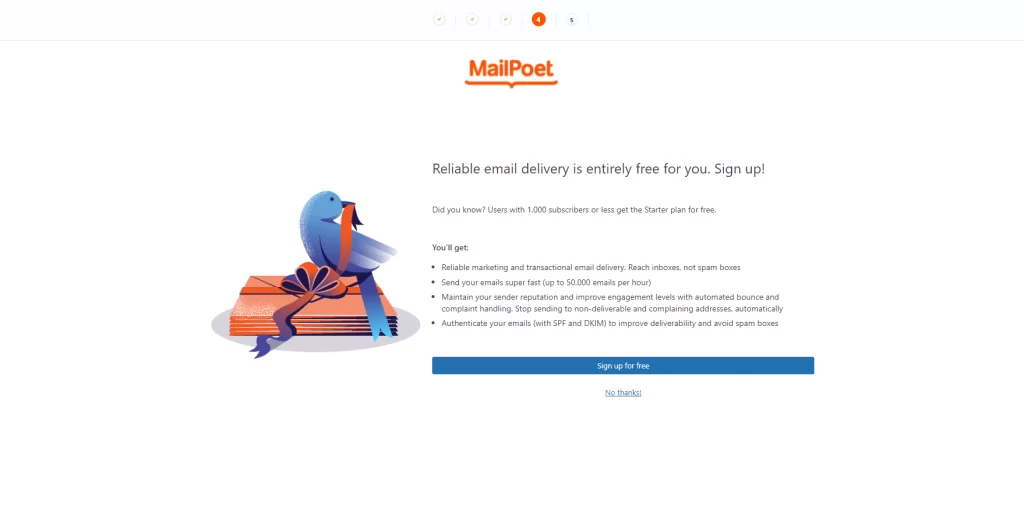
After creating your account you will see your account page with the API key that we will be needing for MailPoet to work. You can copy the API key by simply clicking the orange “copy” button next to the key.

Please note that to use MailPoet Premium you are going to need a MailPoet account, though you are free to use MailPoet without an account or subscription.
Installing MailPoet to WordPress
Installing MailPoet to WordPress is easy. Simply log in to your WordPress admin dashboard, head on to “Plugins > Add a new plugin” and search for “MailPoet“. Note that we are also going to need to install the MailPoet Pro which MailPoet will allow us to do after we have set up the free version and given it the required API key.

Setting up MailPoet
After setup head on to MailPoet from the left menu bar of your WordPress admin area. Here you will be moved step by step to set up MailPoet.
Step #1
In step one, you will be required to give the
- “From name” which is the name people who receive your email will see.
- “From address” is the email that will be shown as the sender.
After filling these simply click “Continue“.

Step #2
Step 2 can be skipped by simply pressing “Continue” if you do not wish to join the MailPoets email list.
Step #3
In the third step, you will be asked if you allow MailPoet to collect anonymized data. In our case, we selected no. The second option is required to be “Allowed” if you want to use Google fonts in MailPoet so we highly recommend allowing it.

Step #4
Since we have already created a MailPoet account we can skip step 4 by pressing the “No thanks!”.
Step #5
If you are using WooCommerce you can allow MailPoet to import your customers directly to the email list. Though in our case we will not be doing it since our page does not use WooCommerce for now.
The second setting is important if you wish to get more precise user tracking. Though you should note that this requires cookies which means if you wish to stay GDPR compliant you will need to ask permission from users for the cookies.
Once you are done, simply click “Start using MailPoet” to finish the setup.

Creating a welcome email
Now that we have everything set up let’s create a welcome email. This is a great way to connect with visitors who subscribe to your email list.

Step #1
In step one, you will be required to give a few basic details like when you want the welcome email to be sent and to who it should be sent. If you went through the setup you should have a basic “Newsletter signup” mailing list created automatically which you can then select as the recipient for the welcome emails. This means that whenever a new user signs up to this list they will receive the welcome email.

Step #2
Here you can pick up a premade template for your email to get it started. MailPoet offers quite a few different templates, but don’t be afraid to pick something just to get started. For example, we mainly used the templates just as an inspiration when creating our own. You can check it out by signing up on our email list to receive updates regarding WordPress tips, tricks, and new posts on our site.

Step #3
In step 3 you finally get to design the welcome email. Thankfully it shouldn’t be too hard if you have used any kind of drag and drop builder (especially Gutenberg) at any point of your WordPress journey. Though the builder might be a bit limited, there are tons of stuff you can do to make your email look better.
Here is an example of our welcome email just to give you some inspiration on what you can do with the builder.

Don’t forget to add the “Subject” and “Preview” lines on the top right corner. These will be the title and preview shown in the email client of the receiving end and are often the first things people notice when they will see your email.
When you feel happy and content with the welcome email you have built you can press “Next” to continue in the final step.
Step #4
In step 4 you can recheck your settings like what the name will be that is displayed to the receiver, what email can they answer, and other important information. You can even set a custom tag for your Google Analytics to help yourself track the email better.
In our example, we simply named our tag “welcome_email” but you can change it if you want to.

Happy with everything? Great! Then you can go ahead and press “Activate” and after that, anyone who subscribes to your email list will receive this welcome email.
Creating a subscription form
We have set up MailPoet, created our welcome email and now we are going to see how we can create a subscription form. This is the form users can use to subscribe to your email list.
To create a new form, simply head to “MailPoet > Forms > New Form“. You can find the “+ New Form” button from the top left of your window.
Selecting your form placement
To select your form placement simply select “Block” and scroll down to “Form placement“. Here you can enable each of the placements you wish this form to be placed.

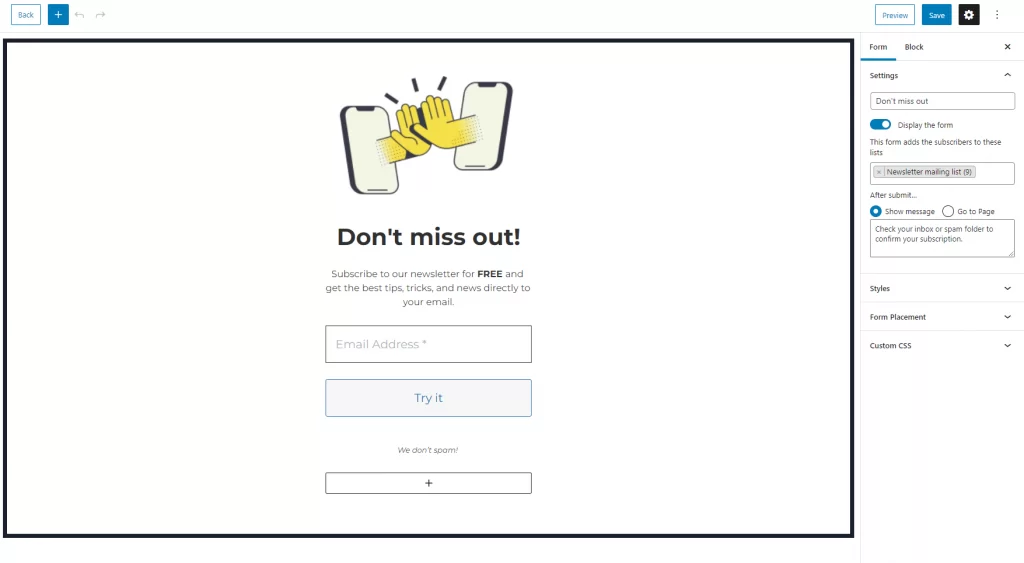
Build your email subscription form
Here is a popup form we built. You can first build it with the visual builder and if you wish to see it in action simply click the “Preview” button to see it in action. You can preview your form in PC and mobile forms.
And here’s what the popup looks like in action.
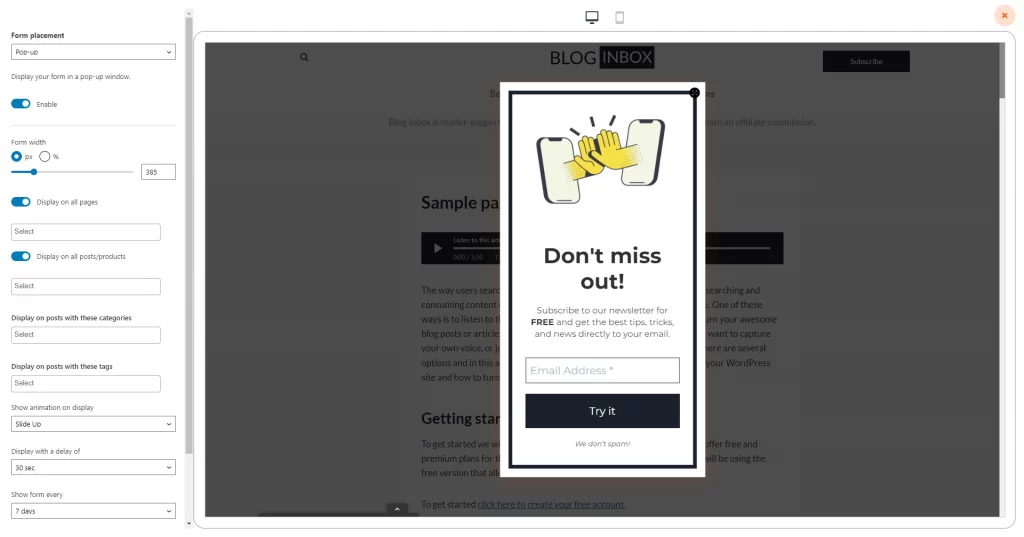
You can easily edit the forms width and other settings in the preview mode and when you are done just click the X on the top right corner to return to the editor. To save the changes, click “Save” on the top right corner.
Final thoughts
You now have a working email capture tool with a welcome email and a form to collect emails from your website visitors. You can extend your emails and forms further by adding more of them. To get the best results in collecting emails try different combinations to find what works with your site.