How To Install WordPress With cPanel (Step-By-Step)
Installing WordPress with cPanel is easy once you know how to do it. In this guide, we will teach you step-by-step how to install WordPress with your cPanel using the built-in Softaculous WordPress installer that is free to use and most importantly easy to follow. Let’s get started.
Step #1 – Login to your cPanel
To get started you first need to log in to your cPanel at your hosting provider.
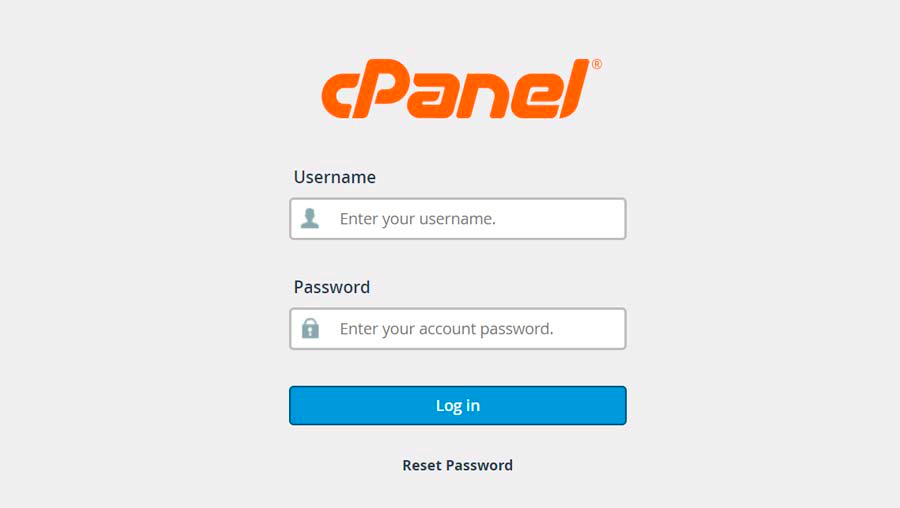
Note – Your cPanel login might look different if your hosting provider has a customized login for it. Though most hosting providers do use the default one.
Step #2 – Find the Softaculous installer
After logging into the cPanel look for the Softaculous installer. Usually, it is placed at the top or bottom of your cPanel collections. When you find it choose “WordPress” to access the WordPress installer.

Step #3 – Click install now
Once you’ve entered the Softaculous installer click the “Install Now” to access the installer.
Note – This will not install the WordPress yet, since you are required to add more information for the WordPress before it can be installed.

Step #4 – Fill in the required fields
Now simply fill in all the required fields and click “Install“. The Softaculous WordPress installer will handle the creation of the MySQL database as well as the wpconfig.php so you can simply log in to your WordPress after installing it on the server.
You are required to fill in the following fields to start the installation process:
- Protocol HTTP:// or HTTPS:// (recommended)
- Installation URL
- Site name
- Site description
- Username
- Password
- Admin email
- WordPress language
Remember to save your admin username and password safely
Note – Remember to check that your installation URL doesn’t contain an ending like “/wp ” at the “In directory” or the installation will be made in a directory called “yourdomain.com/wp ” instead of “yourdomain.com”.

Note – We recommend selecting the “Limit Login Attempts” plugin so it gets installed while WordPress is being built on your server, to limit the login attempts bots and other malicious users might try to do on your site for extra security.
Step #5 – Login into your new WordPress site
After WordPress is installed on your new cPanel server you will see two links. One to access your new WordPress site and one to take you directly to the WordPress admin dashboard.
What next?
Now that we have your WordPress site installed, what’s next? Next, we recommend that you install a theme like Kadence or Astra and get started building your site. If you’re not familiar with how to install a WordPress theme you can read our beginners guide “How To Change A WordPress Theme” where we explain how to change from your default theme to a new one. If you don’t like coding and wish to use a more visual builder than Gutenberg to build your site quickly and easily, click here to check out the Elementor Page builder.
Did you like this guide? Comment below and lets us know what you think.